Night sky photography setting for DSLR
If you are reading this, it clearly means that you have always been fascinated with the universe and you were always looking to explore it more but was unsure of where to start. In that case, you must be reading this article to get to quality outcome from your DSLR sitting at home.
Like every photographer, I was also curious yet fearful of capturing night skies earlier. I was unsure of equipments to use & methods to follow while clicking night skies. However, when I travelled to Himalaya at highest altitudes , where millions of stars were visible with open eyes, I couldn’t resist to push boundaries, follow the night in darkness in extreme weather situations just to explore the universe in my own frame.
I have realised that , other than physical endurance, it is not that difficult to make awesome images with the camera in your pocket if your key basics of photography are clear. If you feel that watching me talk is better than reading this, jump on to the video below where I talked about photographing night sky with any DSLR on my channel :
This video helps with astrophotography tips for beginners and answers how to shoot stars at night with DSLR camera.
Night sky photography equipments :
If you are serious photographer, you would be having most of these things in your camera back. However, do consider these as minimum perquisite as these are necessary to make high quality image for your efforts during nights.
Decent Camera body (DSLR) or a camera with manual functionality
Good lens with wider aperture (We will take in detail about it ahead)
Sturdy travel tripod
Head torch to assist you in darkness
Timer functionality on camera or external cable release
Importance of manual mode for night sky photography :


Photo by JESHOOTS.com from Pexels
Photography is all about light. When we speak about camera functionalities, in recent times, there are multiple easy options available for people to make image at any particular time without knowing technical side of it. However, where we speak about night sky photography, the equation changes completely and you need to take a full control of light while shooting such challenging subjects. To get a full control of your camera equipment, you have to be well aware with manual functionality of your camera which is famous for giving you a full control of three elements of making image :
Aperture
Shutter Speed &
ISO
Aperture, Shutter Speed & ISO are famously known as three important pillars of making an exposure of any image. These are famously also known as sides of exposure triangle in photography. If you are reading this article, I am considering that you are well aware of what these parameters are and how to set them in your camera. Every individual who learns photography as a serious passion or profession has to understand these aspects & if you are beginner who is unaware of these, you can look out for photography courses to understand the potential of camera in your bag.
Now, let’s go through each of these settings to help you make better night sky image.
Aperture setting for night sky photography :

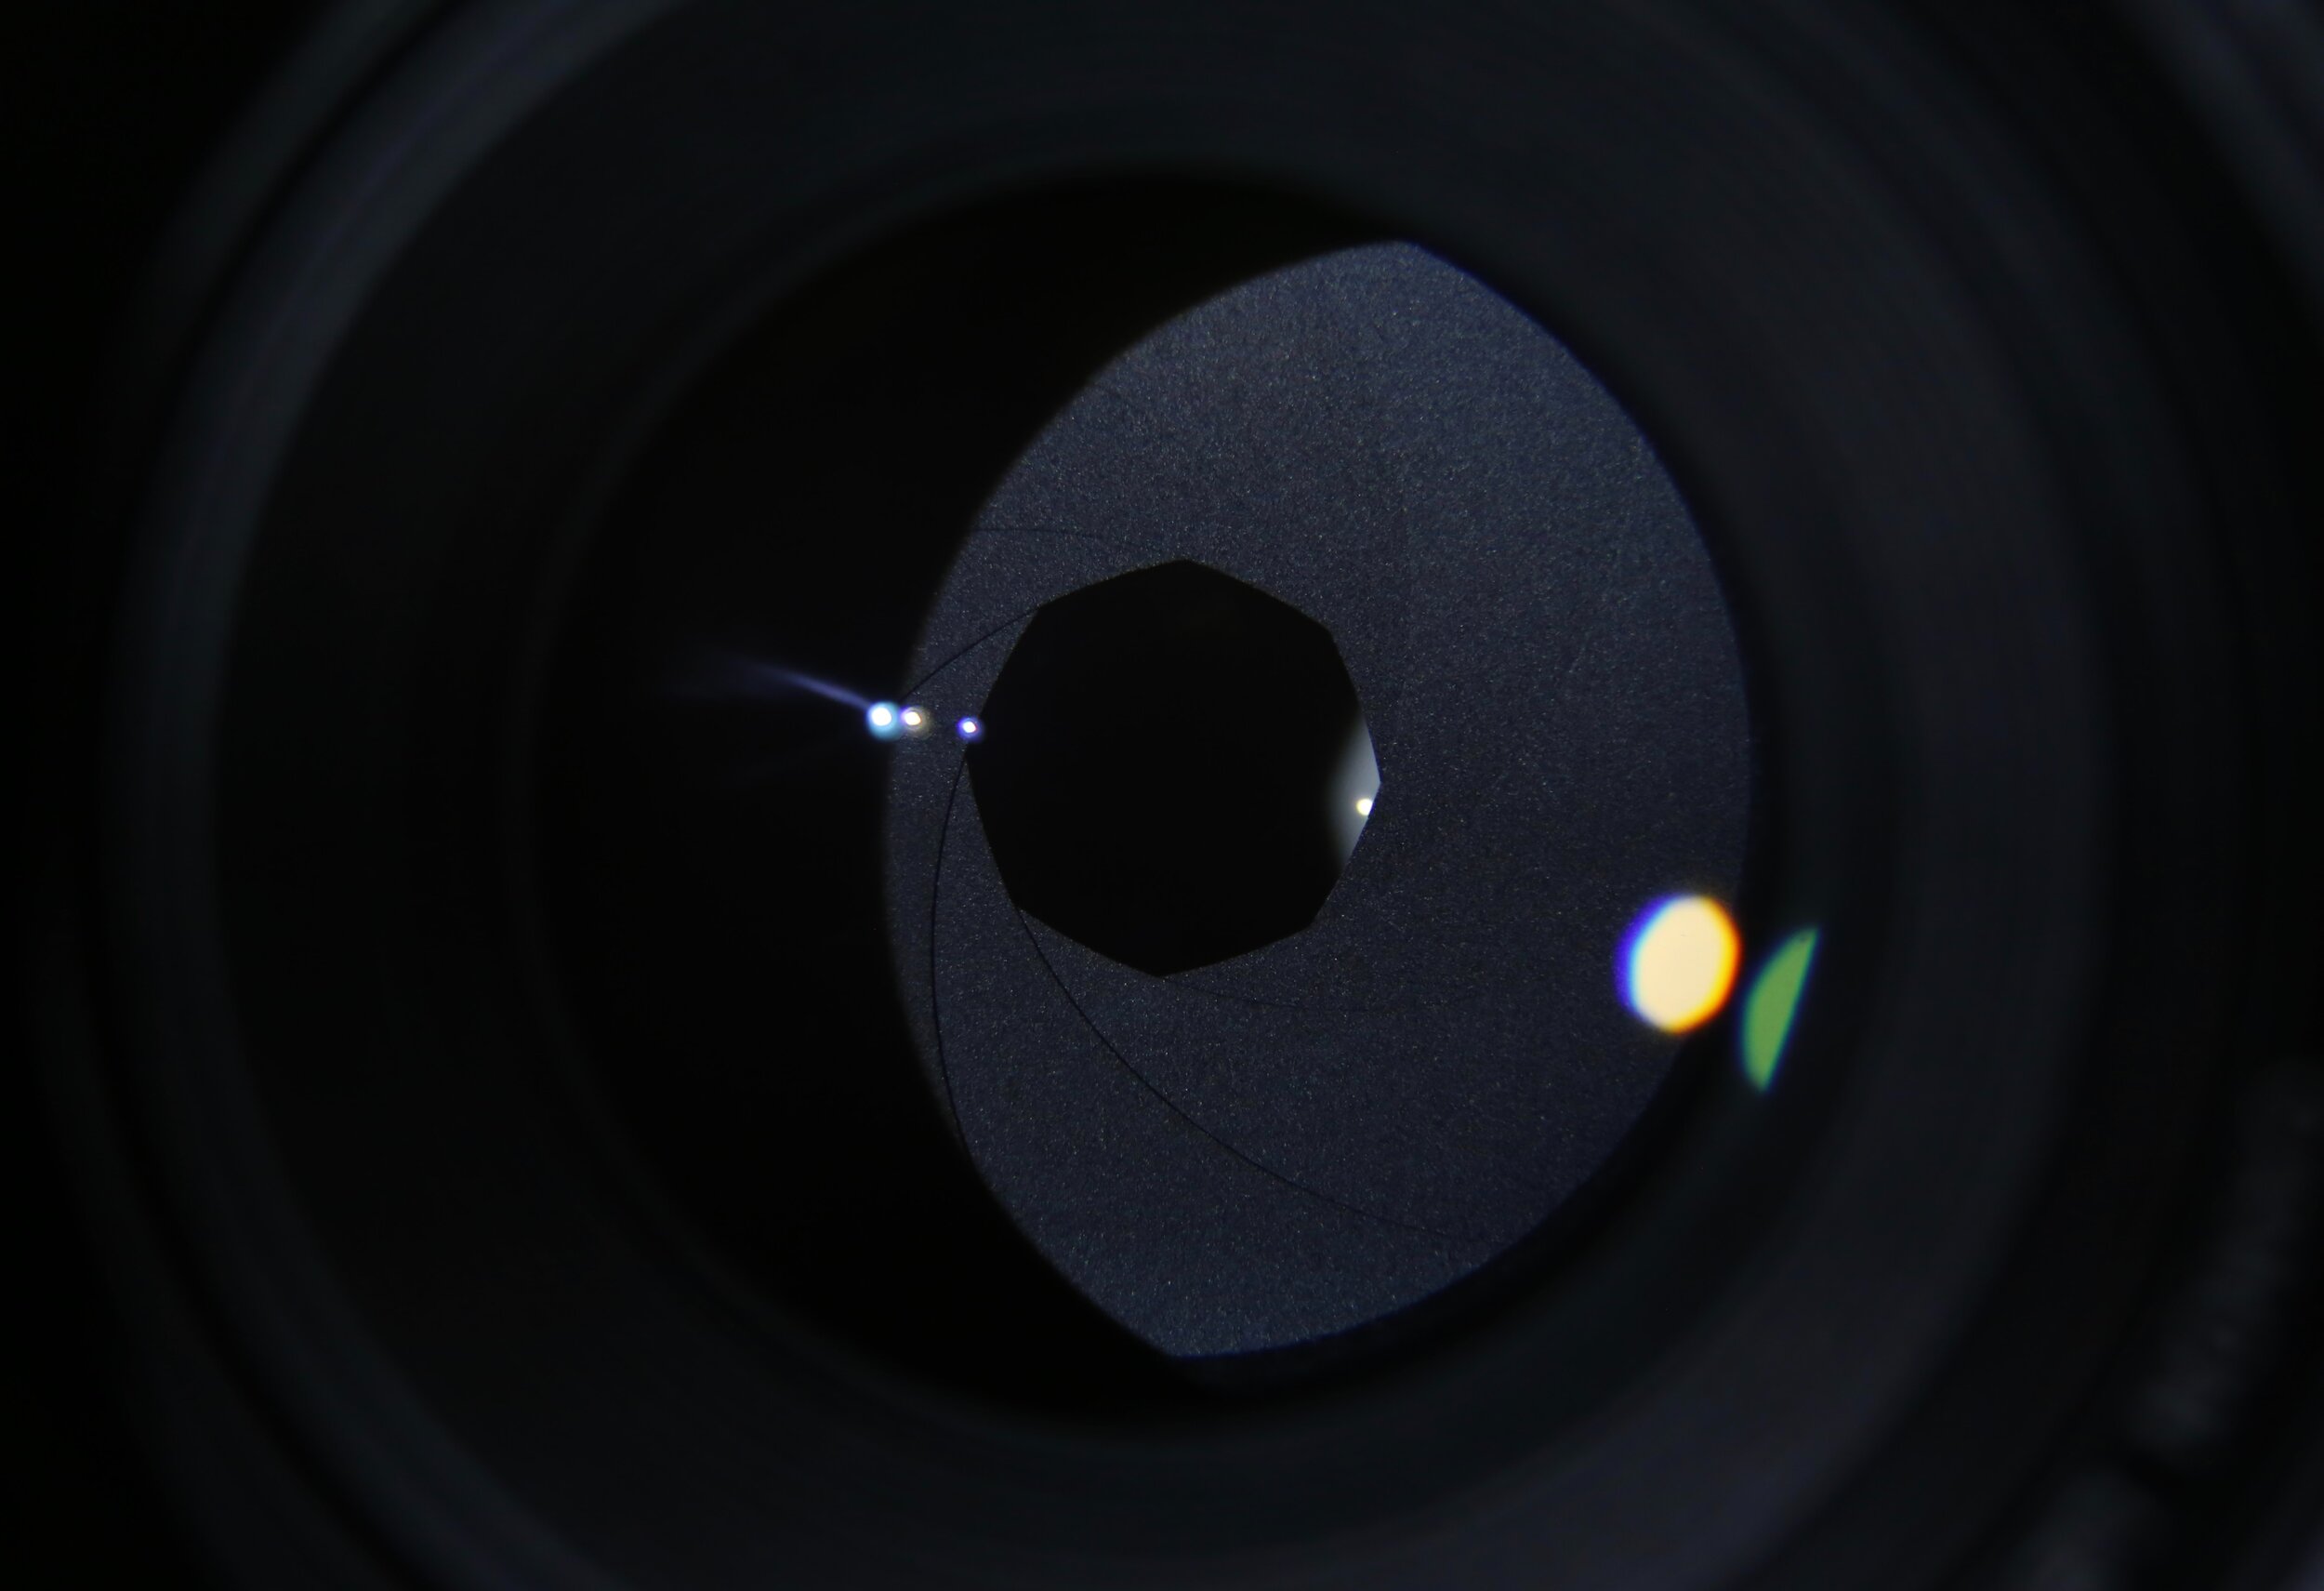
Photo by Marcus Urbenz on Unsplash
What is aperture in photography ? - Aperture is opening of a lens which allows external light to pass in camera for the sensor to make a quality results.
So, to get enough light inside camera during night time, we need opening of your lens as wide as possible. And hence, you need wide aperture lenses to make quality night sky images.
Aperture of lens is represented in the form of ‘F number’.
”Smaller the value of F number , More the light which hits your camera sensor.” So, to make night sky images, ensure that you keep your aperture setting in manual mode to as wide as possible i.e. F number as small as possible. For night sky images, preferred F number value is F2.8, F1.8, F1.4 etc.
ISO setting for night sky photography :

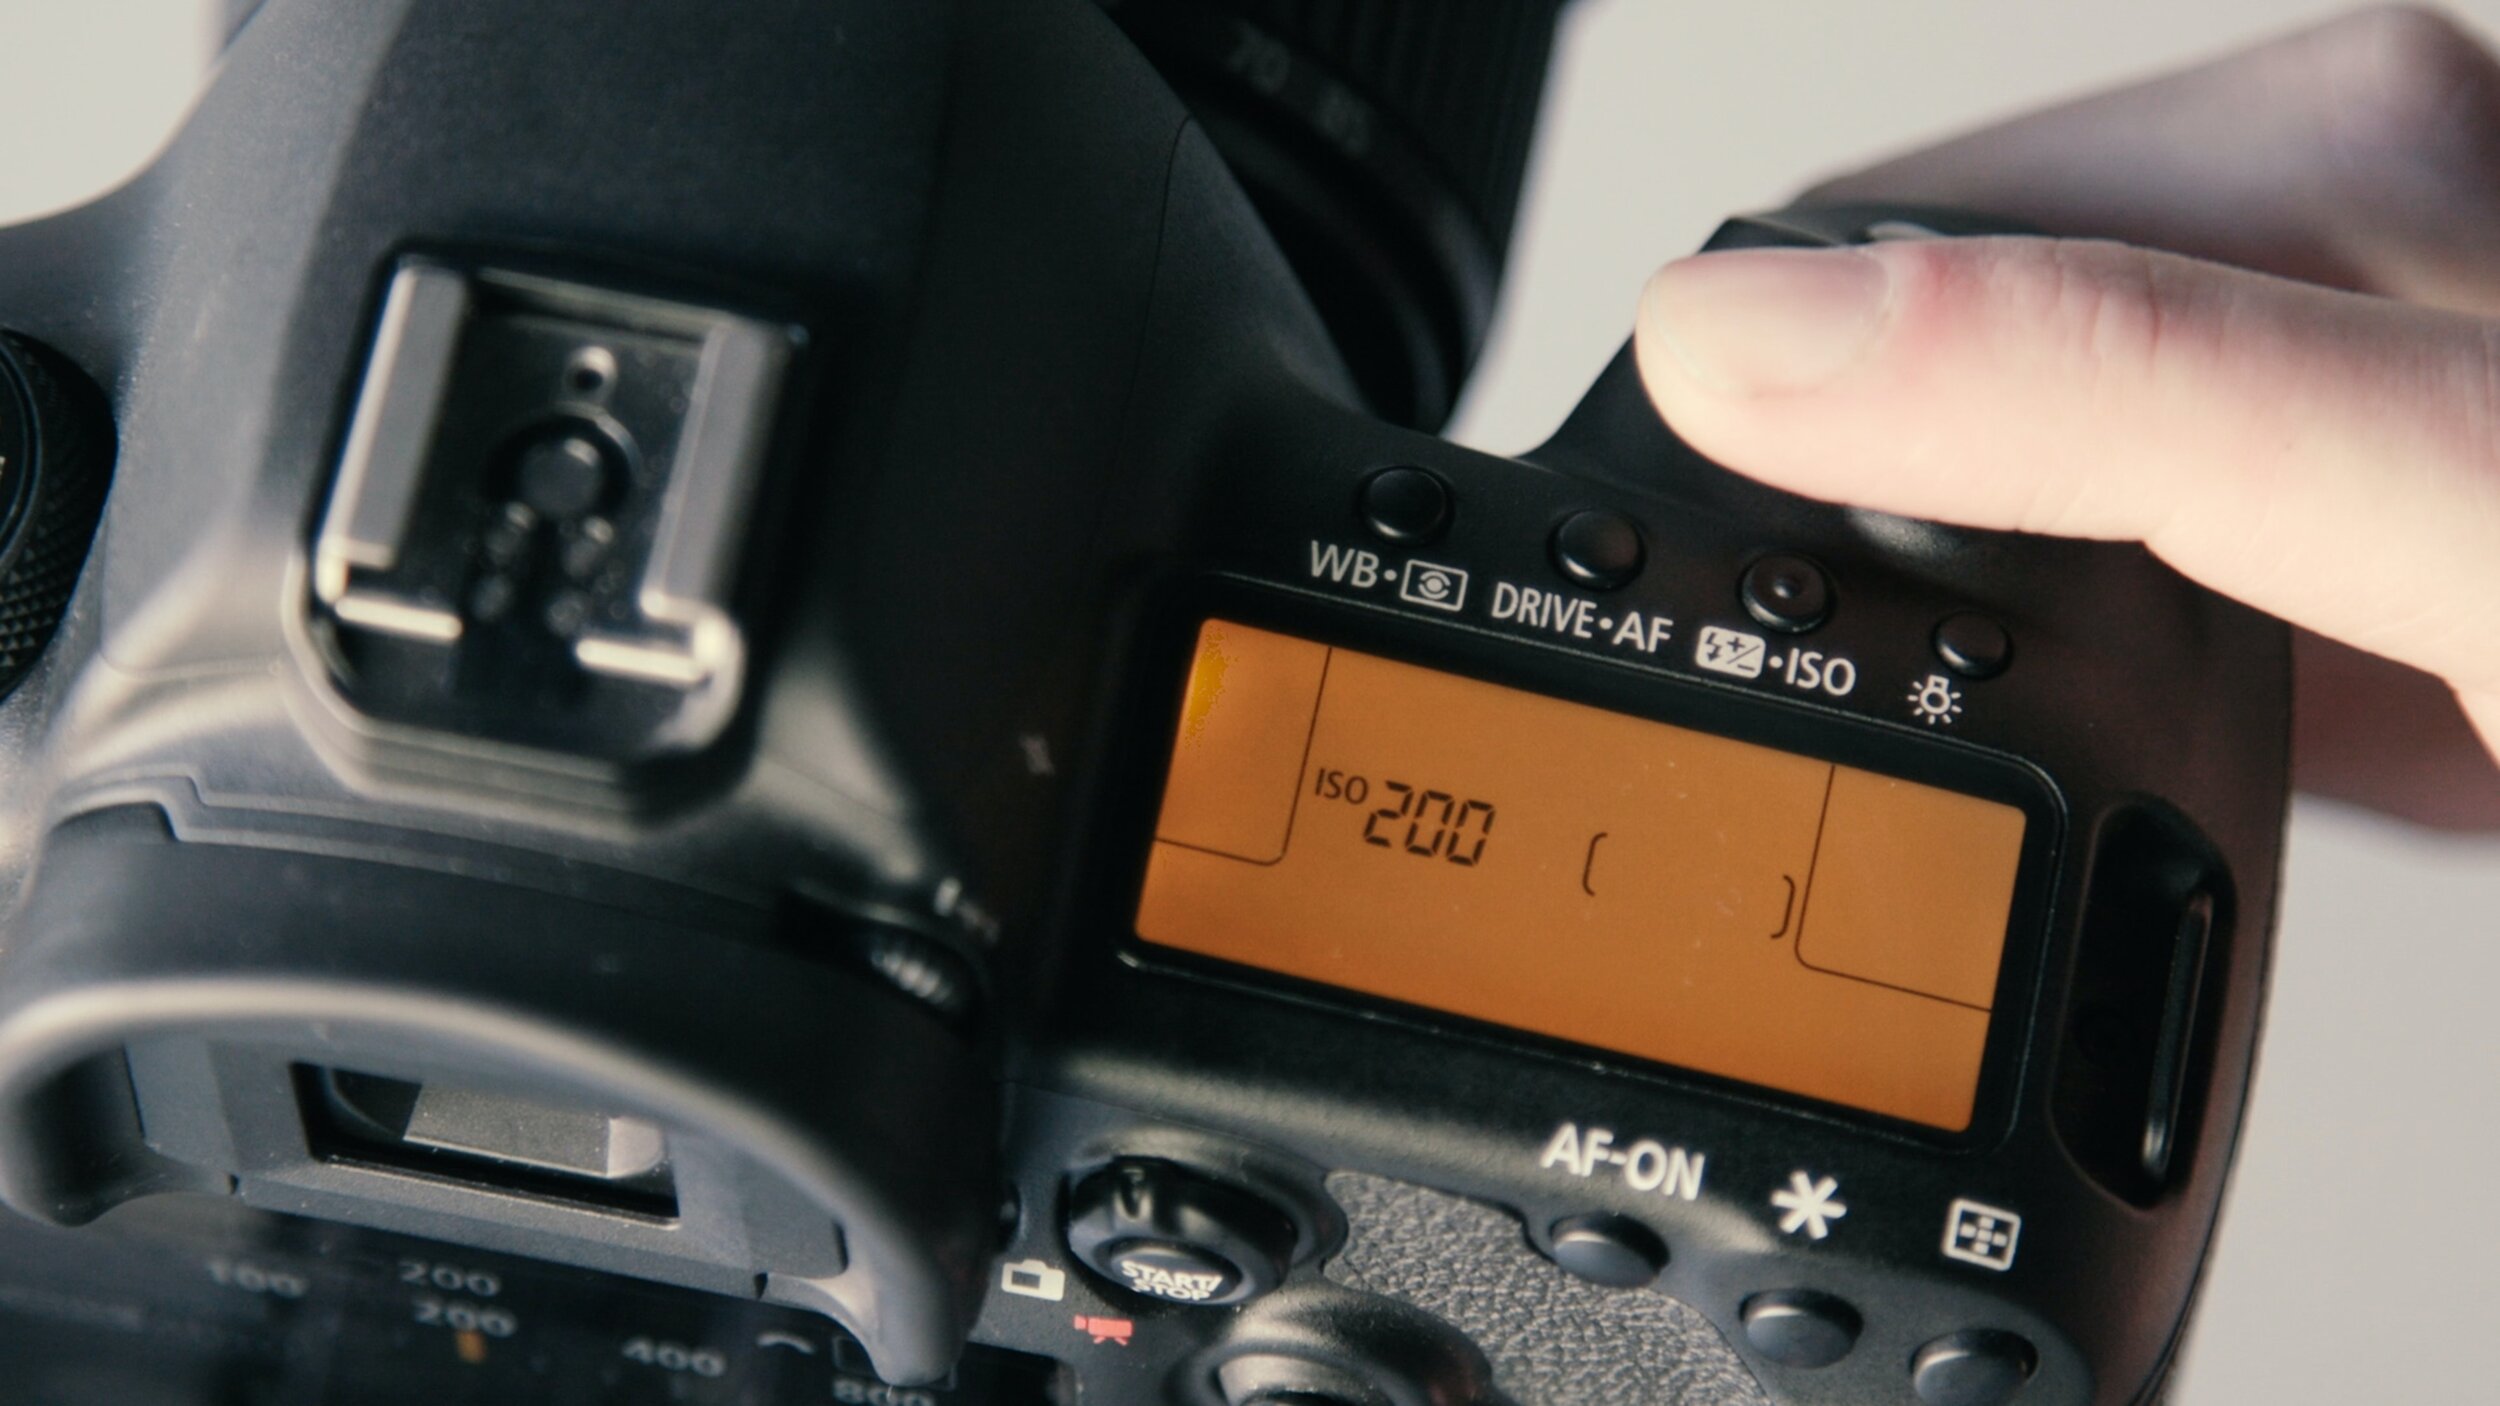
What is ISO in photography ? - ISO is sensitivity of your camera sensor towards the light. The more sensitive the sensor, better the response of camera in dark. So, ensure that your have a decent camera which supports better low light performance.
When we talk about numbers, “more the ISO number, more sensitive the sensor towards light”. For night sky photography , recommended ISO number is 1600, 3200 or 6400. Beyond 6400, you start observing unusual artefacts in your image also known as “noise” in photographic terms.
Shutter speed setting for night sky photography :

Photo by Rodolfo Clix from Pexels
Shutter speed is measured in time. Shutter speed is associated with the moment of the shutter of camera which opens/closes during making an image. Higher is the time of shutter opening, more the light entering inside. The shutter speed is not only associated with the amount of light, it is also associated with the the motion of subjects. If you are aware of key “basics of photography”, you would be familiar with these terms.
And since shutter speed is associated with motion of subject, it is important to have a value of shutter speed such as to keep stars in the image WITHOUT any motion. And there is famous rule to calculate shutter speed for having stars WITHOUT motion in night sky photography - The Rule of 500
The Rule of 500 :
The rule of 500 says, that the required shutter speed to click a night sky images without stars having any motion is equal to 500 divided by actual focal length of lens at which you are trying to capture the image.
”Shutter Speed = 500/Actual Focal Length”
What is actual focal length of camera ?
The actual focal length of camera depends on the type of camera sensor. Let’s consider a case where you are trying to shoot at 20 mm mark of the lens.
So, if you are using full frame cameras, then you are shoot at 20 mm of actual focal length.
But, if you are shooting with crop sensor cameras, then your Actual focal length becomes,
“Actual Focal Length of Crop Sensor Camera = Focal length at which lens is marked * Crop factor of the Camera”
The crop factor of camera varies for every camera producer and you can find the respective value easily on the Internet.
Using all these mathematical calculations in dark windy night, you can find out ideal shutter speed at which you should be shooting to get a perfect night sky image.
Focusing techniques for night sky photography :
By now you would have understood that, it is not that easy to click night sky images technically and even though we have came long way covering aperture, ISO & shutter speed setting for night sky photography , the biggest challenge remains of getting our subject at perfect focus with maximum sharpness.

Photo by Magdiel Damas on Unsplash
What makes focusing as biggest challenge is absence of ambient light during night sky photography. So, we will again be taking control of focusing in our own hands rather than relying on camera to focus for us i.e. we will NOT be keeping our camera in Auto Focus but we will be on Manual Focus mode for doing our job in easy way.
Manual Focusing for night sky photography :
Even though we are taking control of focusing into manual mode, the absence of ambient light still remains the question. So here are few things you should be following while trying to focus during night time.
Using focus ring of your lens, put the lens at “Focus at infinity”. There will be a small mark like “∞” known as symbol of infinity on your focus ring. Ensure that you keep your focus ring mark on this sign. This ensures that you are asking your lens to focus everything till infinity and thus stars too.
While infinity focus makes your job bit easy, it is not 100% reliable. We still need to do finer adjustments to that focus. And here we will use the zoom in - zoom out functionality of live view in camera. Just put your camera in live view and look for the brightest star in the sky. Now, try to zoom in completely with your camera on that star. Further to this, now you can try to fine tune focus ring visually to achieve maximum sharpness in your final versions.
As a small tip, if you face challenge in live view to track the focus, you can boost your camera ISO to maximum level for period of time. This will show noisy live view but will also give you better view for the brightest spot to achieve perfect focusing.
As an alternative way, you can use torch light to point in sky and try to focus on that light.
These things surely help you achieve focus easily and make your experience happening.

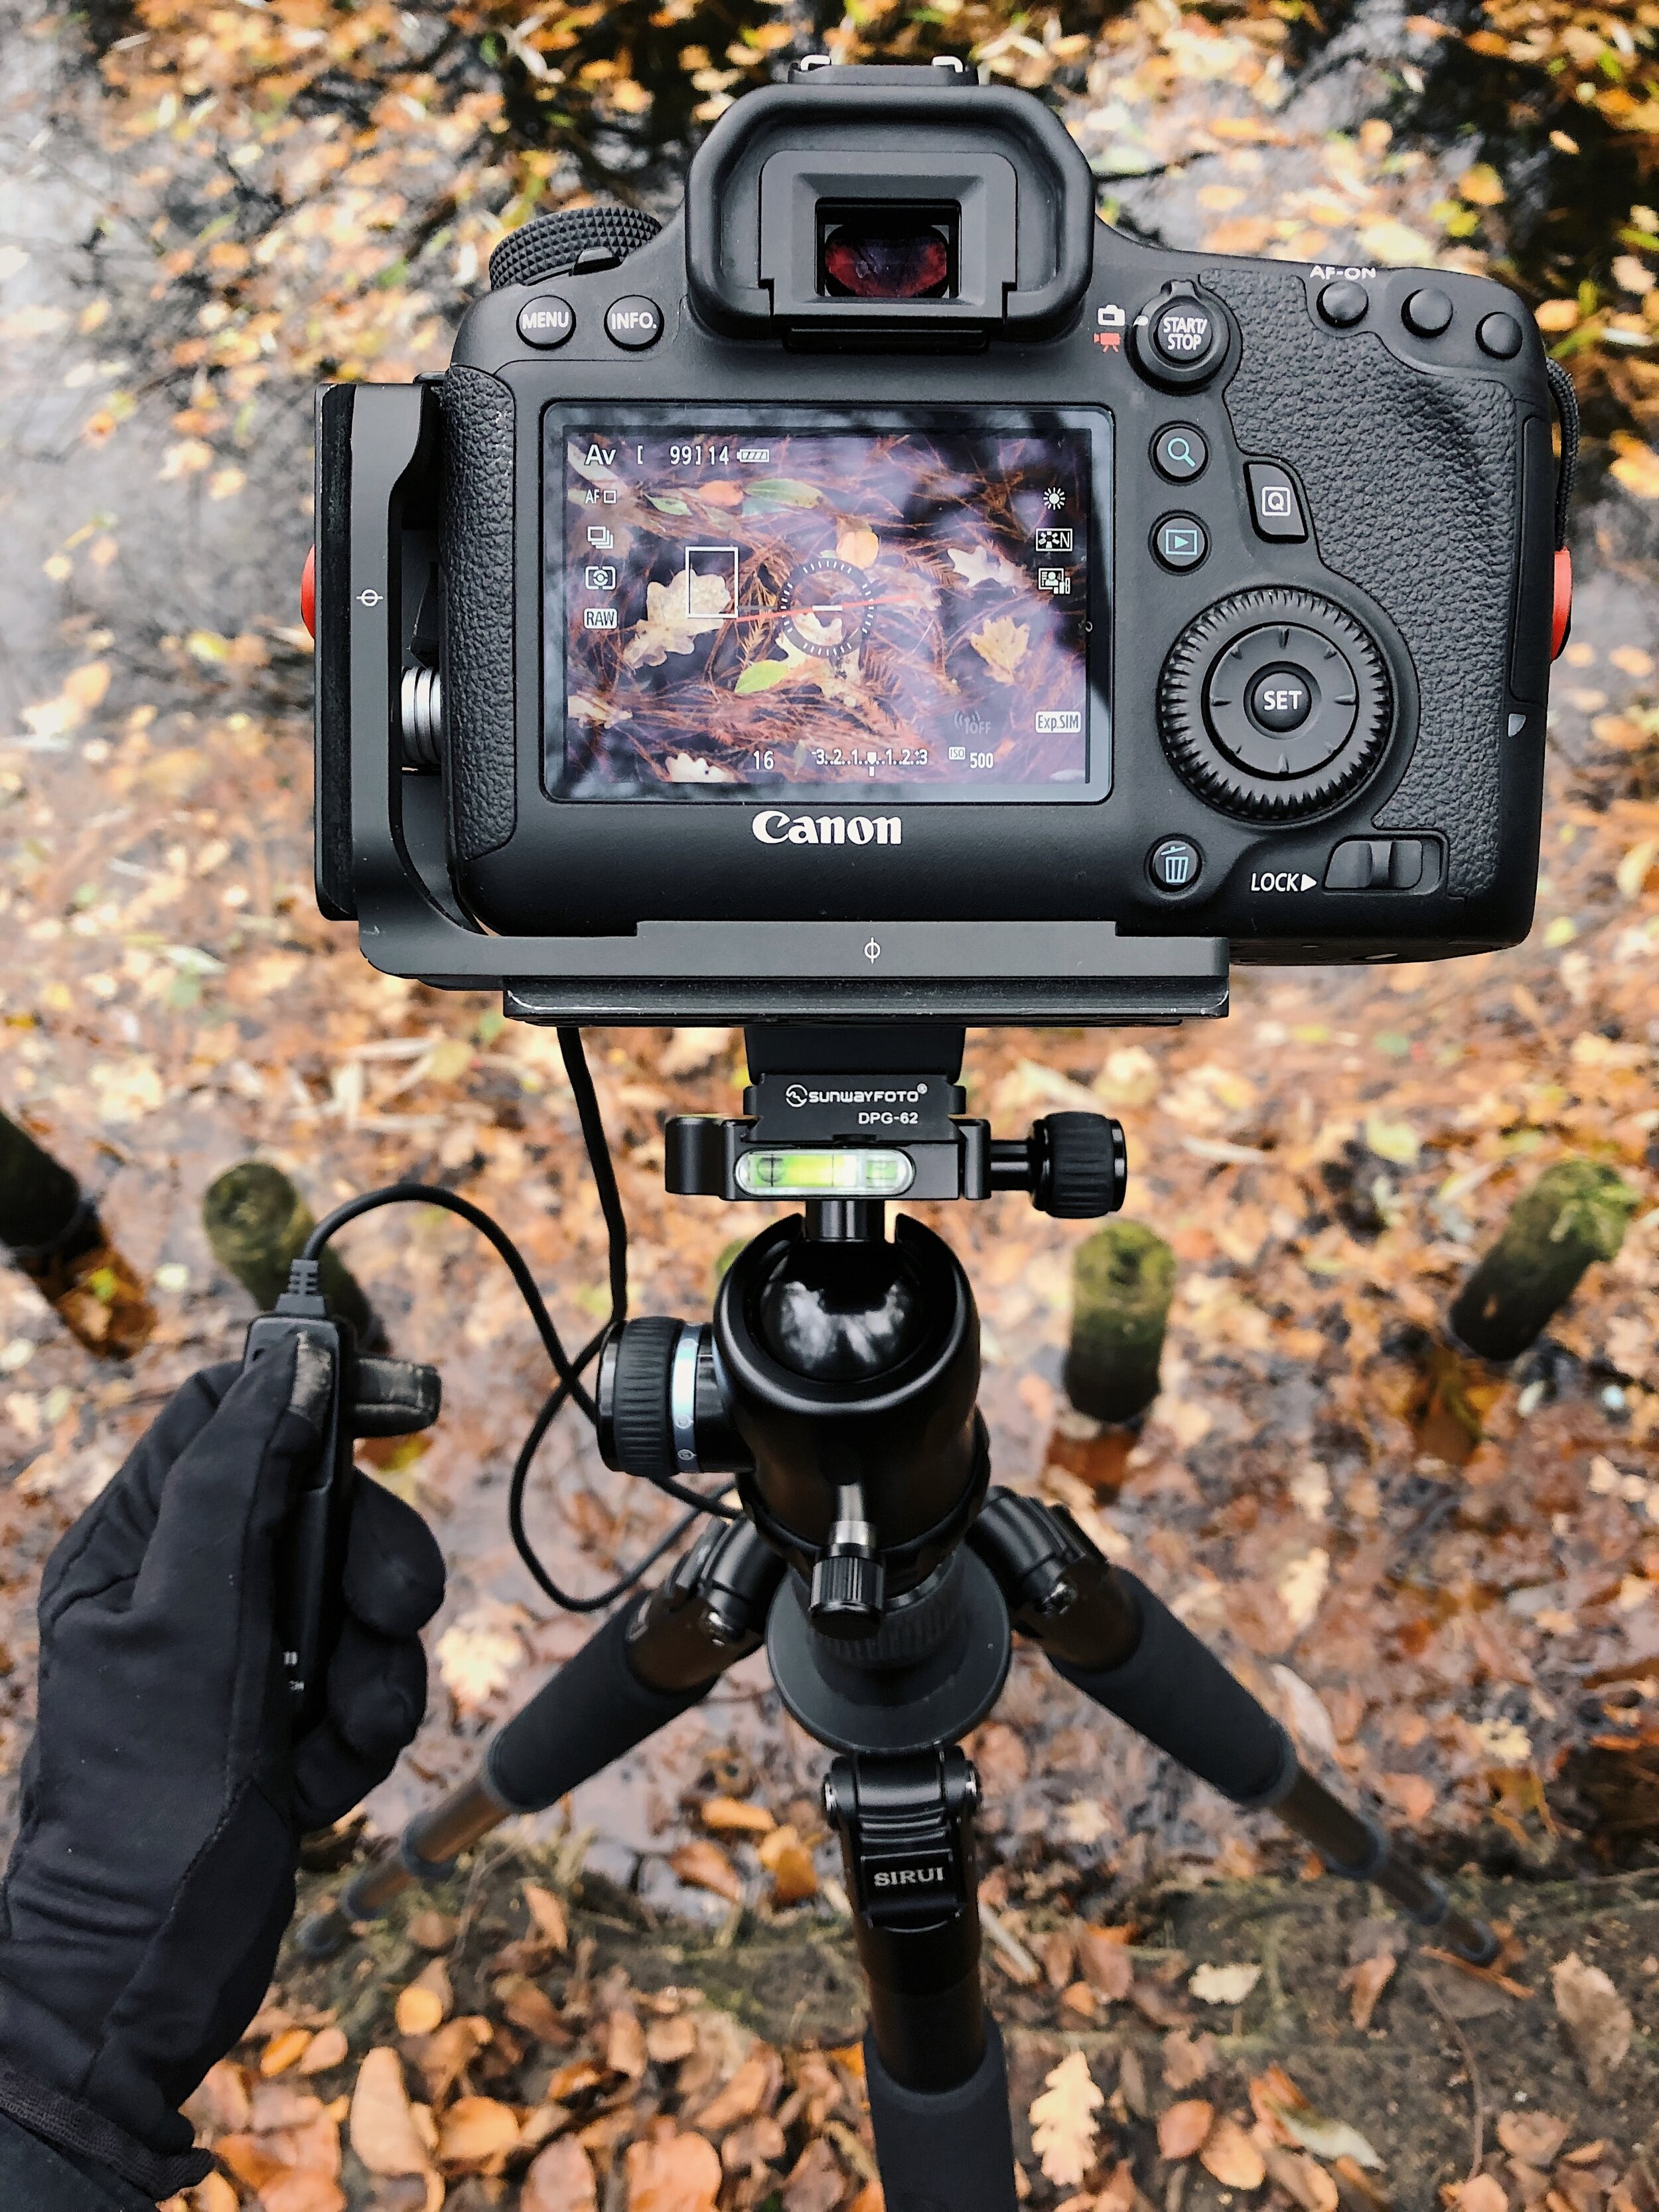
Photo by Artem Sapegin on Unsplash
How to avoid camera shake in long exposure photography ?
By now you would have understood that, the exposure time for night sky photography would be on the higher side of 20sec, 25 sec or 30 sec around depending on your equipments and settings. And whenever you would try to shoot long exposure shots like these, there are chances of camera shake due to wind and mechanical moments. And hence, if you are looking for high quality results in such photography you should be considering these factors as well. Following things are recommended to avoid camera shake :
Sturdy Travel Tripod : If you are landscape, travel or night sky photographer, a good tripod has to be part of your camera bag. A good sturdy travel tripod is a game changer and helps you create some dramatic long exposure images.
Timer mode / External cable release for camera : To avoid the shake of your camera while clicking pictures, you can use in built timer mode of the camera or use external cable release which acts as a external trigger for camera shutter button.
Mirror Lockup : If your are using DSLR, during every image making process, the mirror inside camera moves which incorporates mechanical moments in camera. Even such minute moments can make your image look softer. And hence, while using live view , one should be locking the mirror up from setting options of camera.
Image stabilisation : Image stabilisation is inbuilt functionality lens which mechanically correct any kind of moments caused during handheld shooting. Since we are using sturdy tripod for this shoot, we do not want any correction from lens. So you should be keeping image stabilisation off while using tripod.
If you follow all the things mentioned above, you would be able to nail night sky image in the first attempt. Now please note that we haven’t talked about milky way tracking and time to shoot them. This is another topic all together. This article should help you to make some creative images even after the darkness.
Things to consider in night sky photography :
You should be away from any kind of pollution including light pollutions in cities. Light from cities over powers the scene and it becomes difficult to make images of stars inside cities.
Also ensure that you are hitting the location in advance if possible to visualise the final composition. This would also help in keeping your equipments ready with other factors such as focusing which is the biggest challenge.
Check for weather conditions in advance , as you need clear weather for night sky photography. Cloudy weather will ruin your night and you surely do not want to face such situation without planning things in advance.
I hope that, this article will help you to enjoy your journey in photography a notch further. Night sky photography is different experience altogether and it is not everyones cup of tea. But surely what’s the harm in trying and exploring the other side as well.
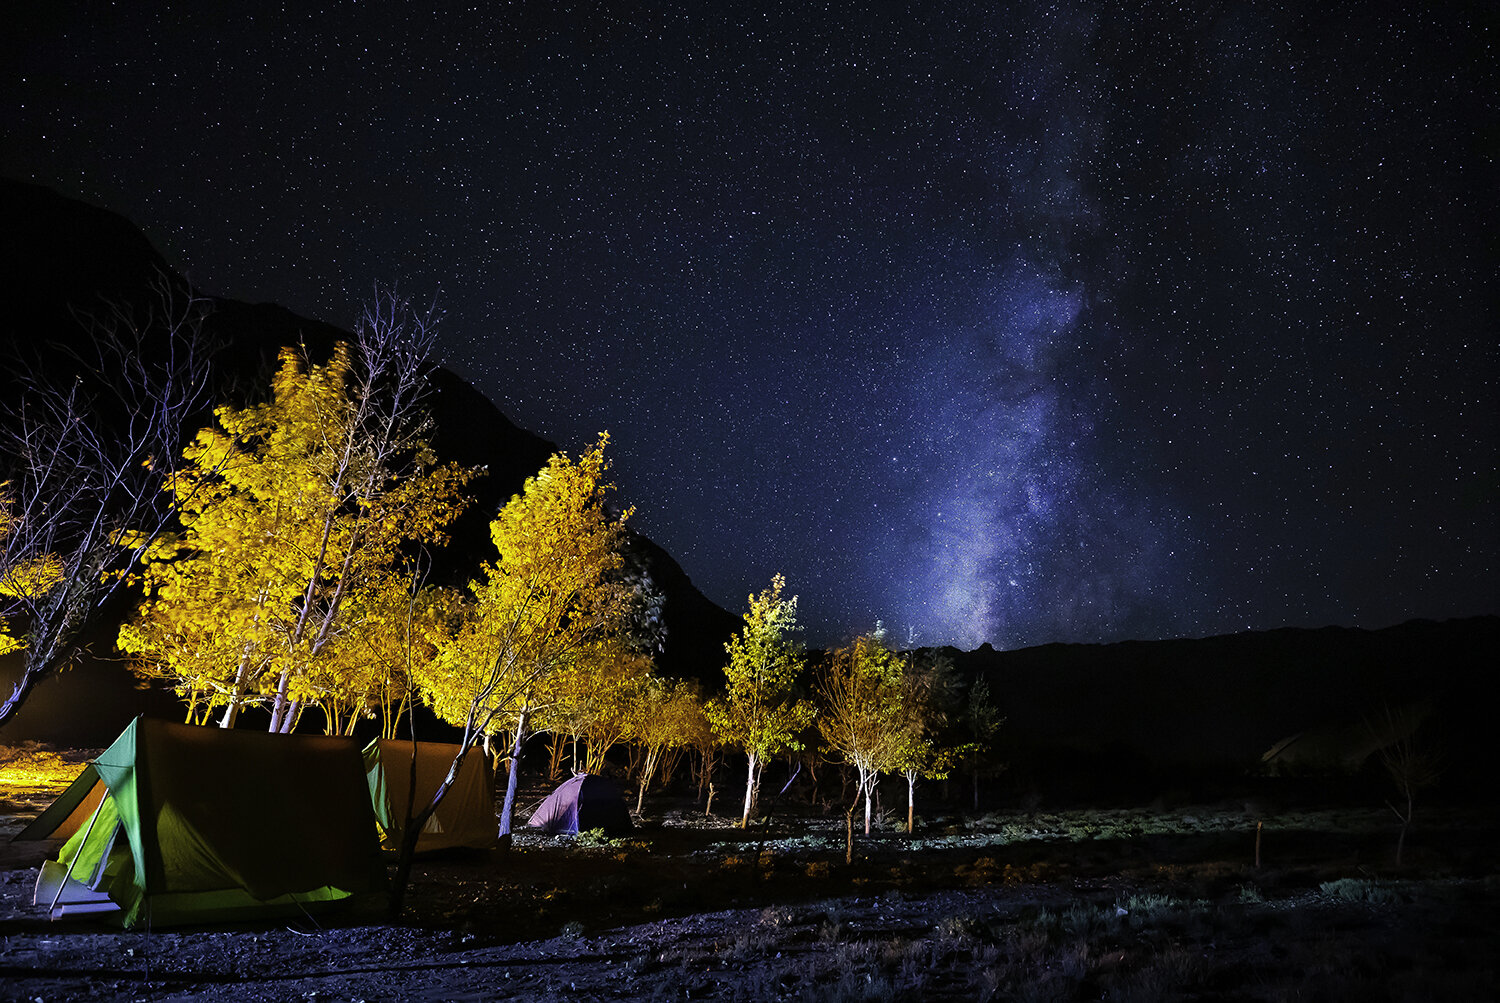
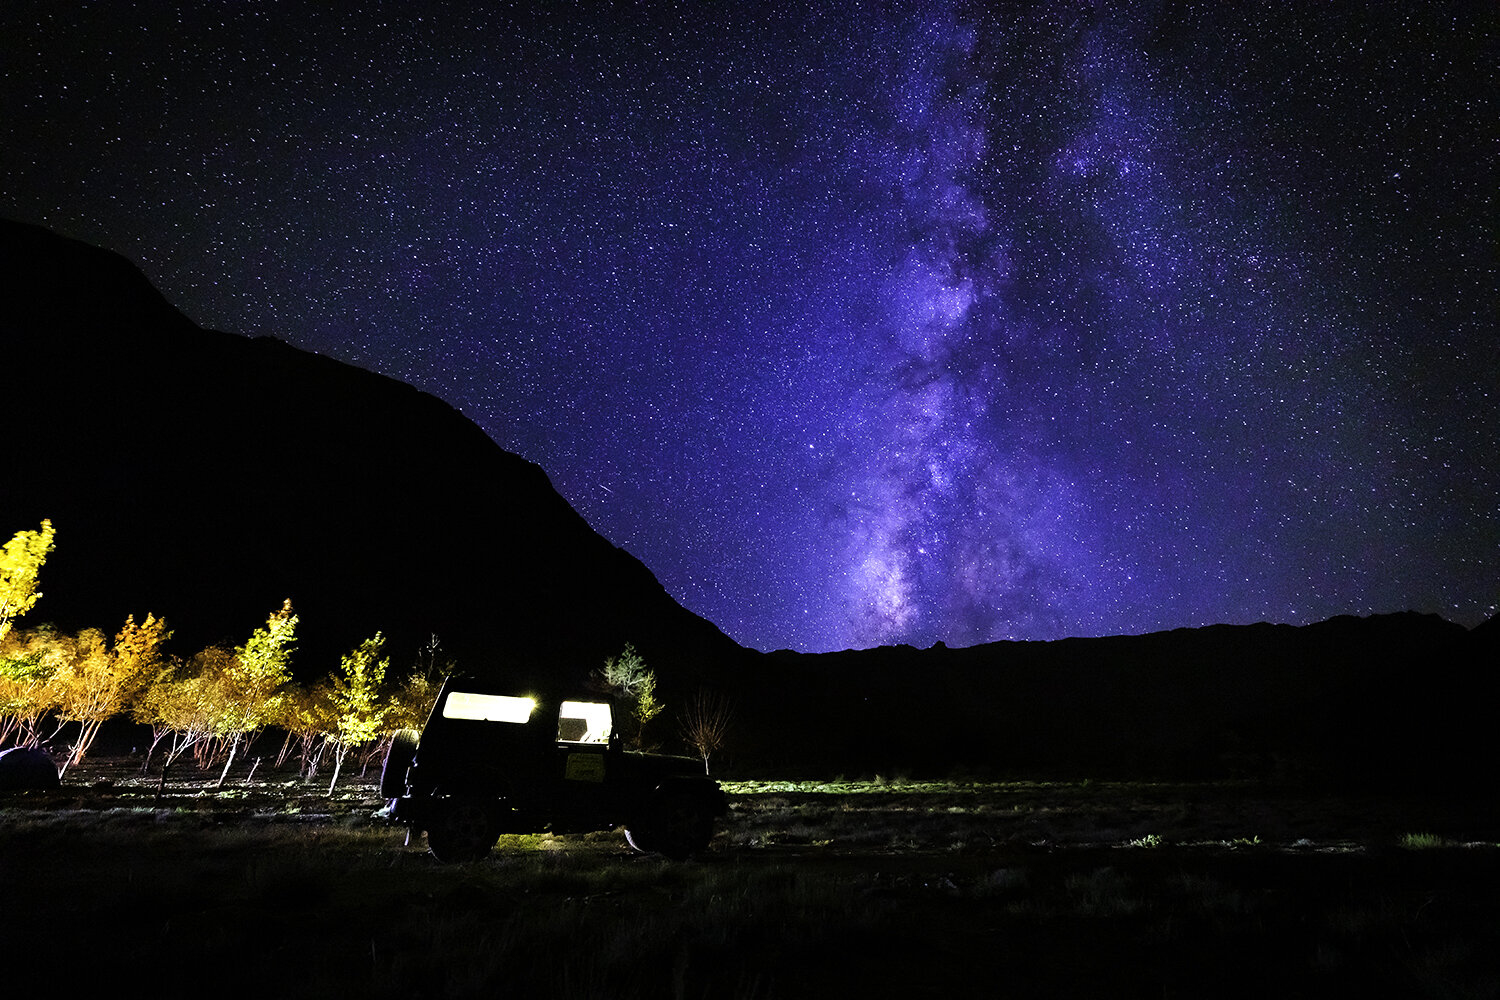
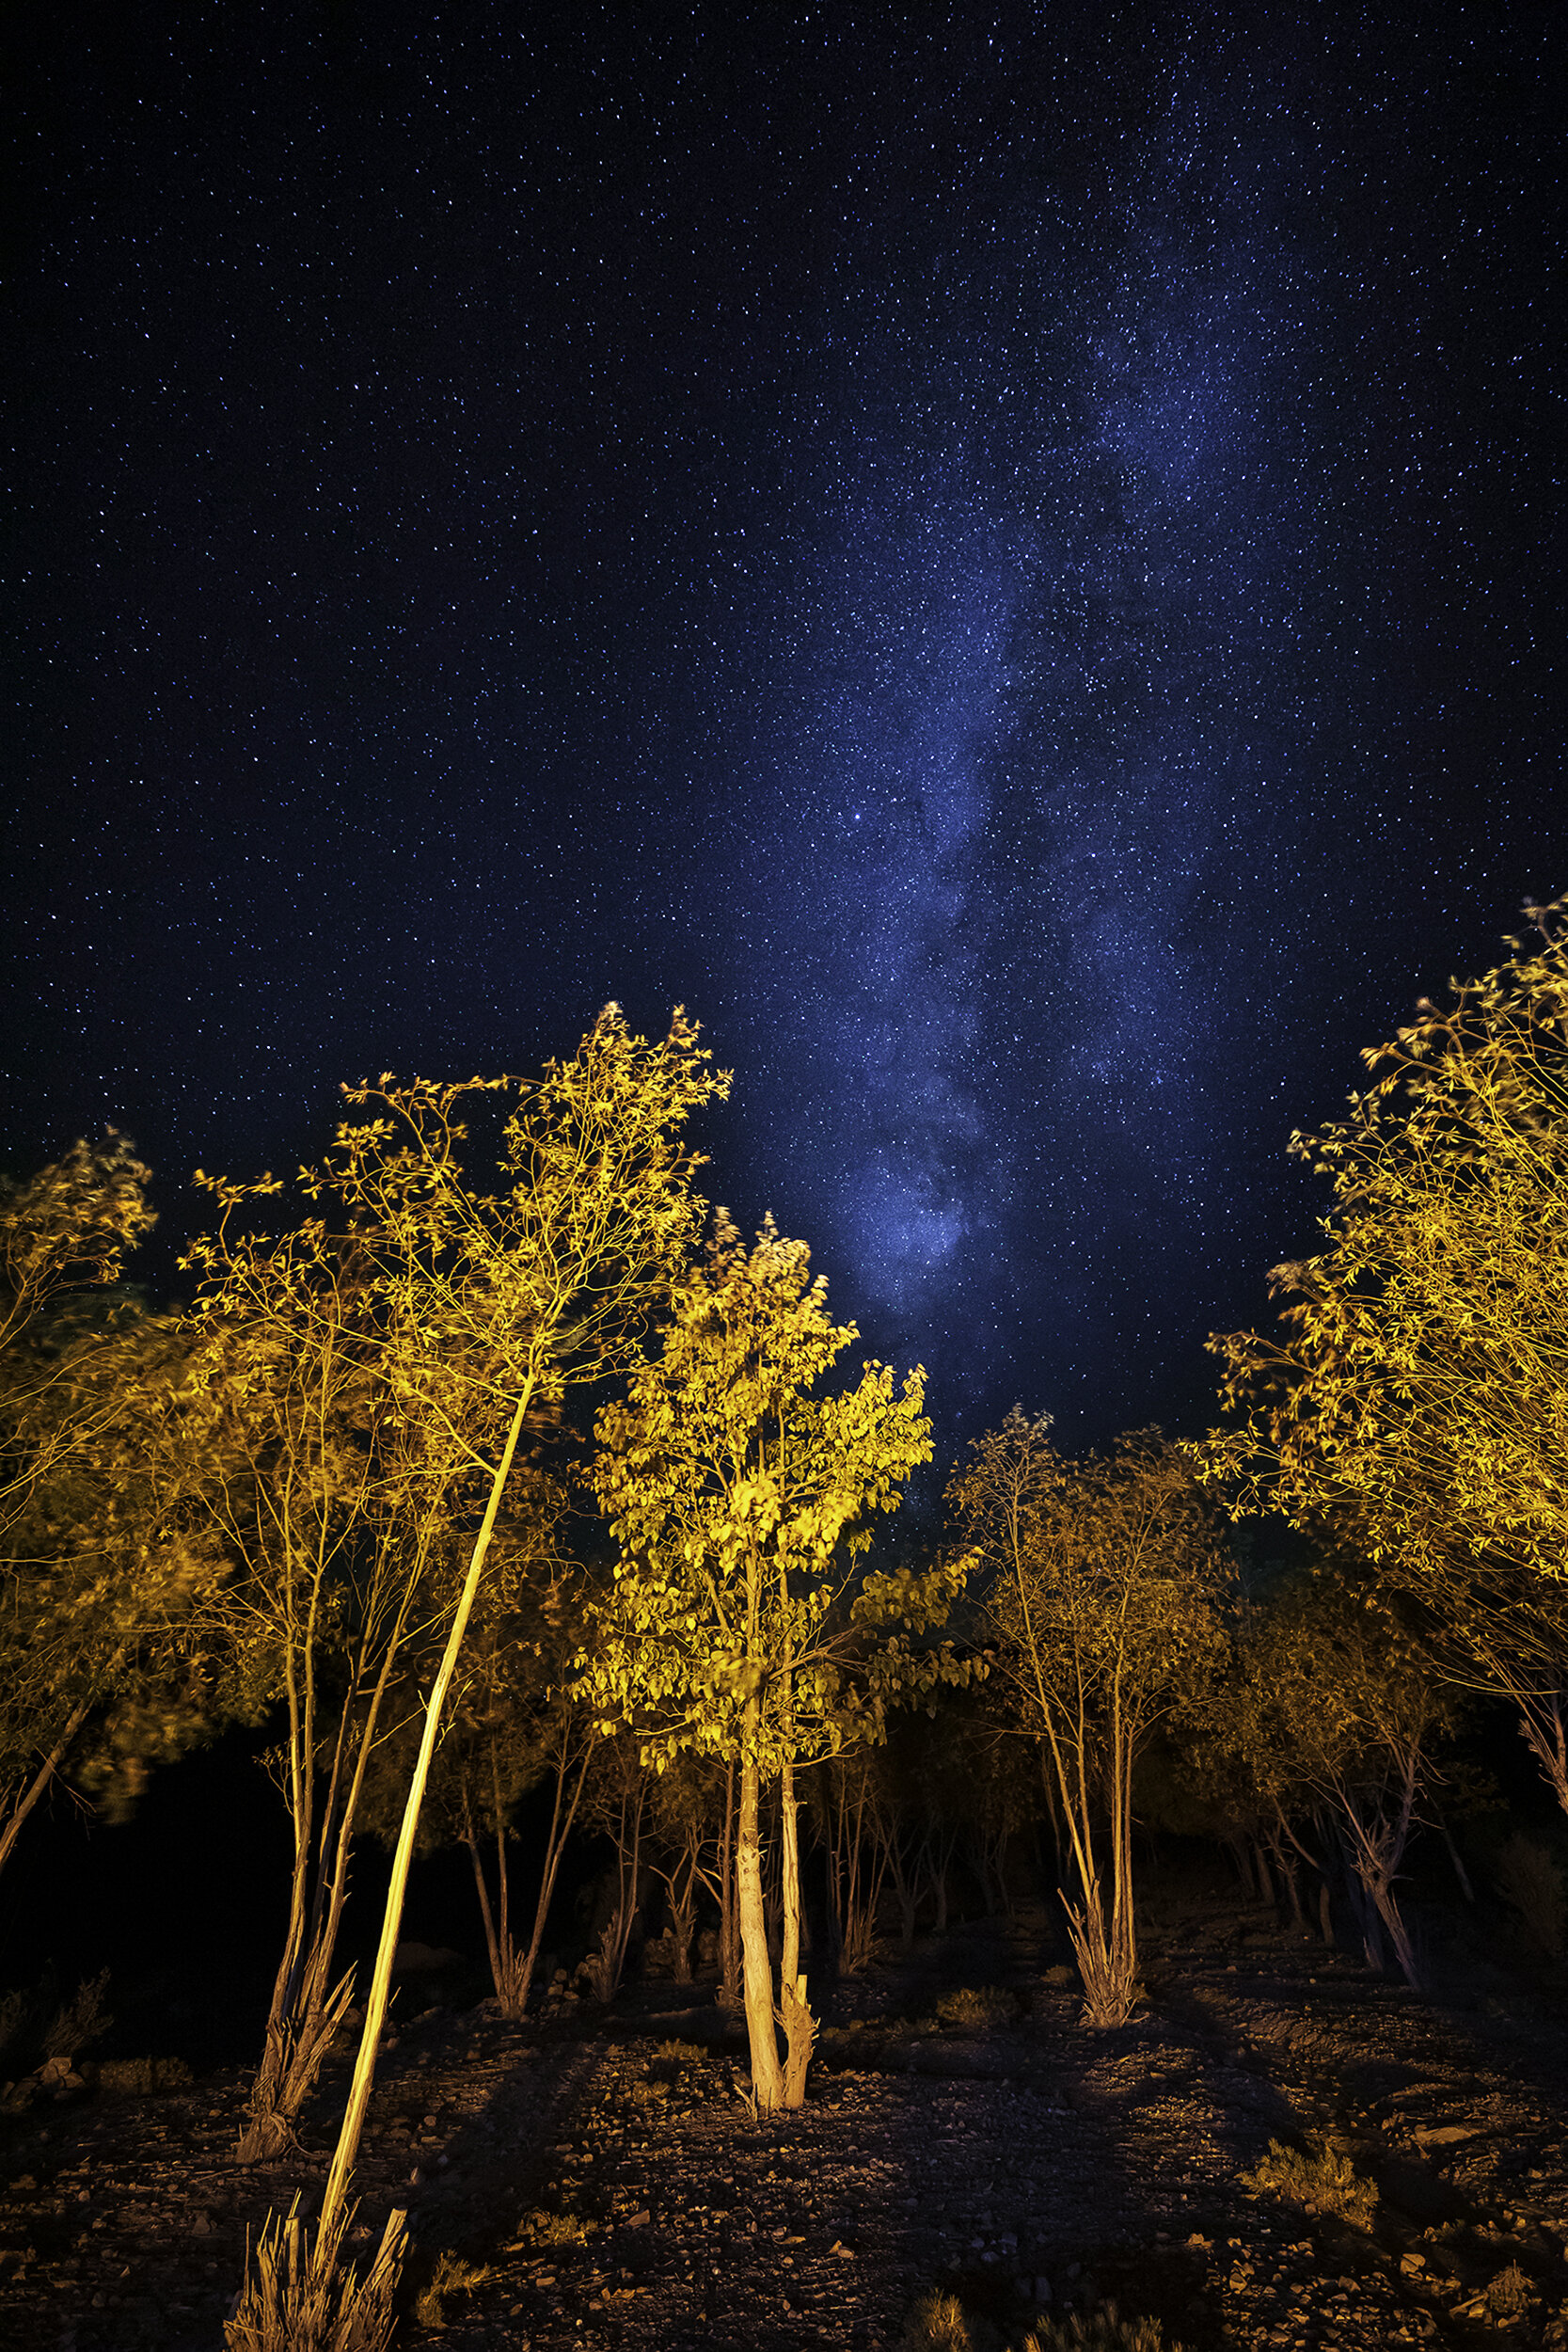
Here are some night sky images which I shot during my Himalayan expedition.


Let me know in comments if you have explored night sky photography before and what all practises you have followed to make a good image. Share your experiences and let me know if you would like to know more about anything related to photography here in the blog post. Catch you soon with another article !
Cheers,
Prathamesh :)
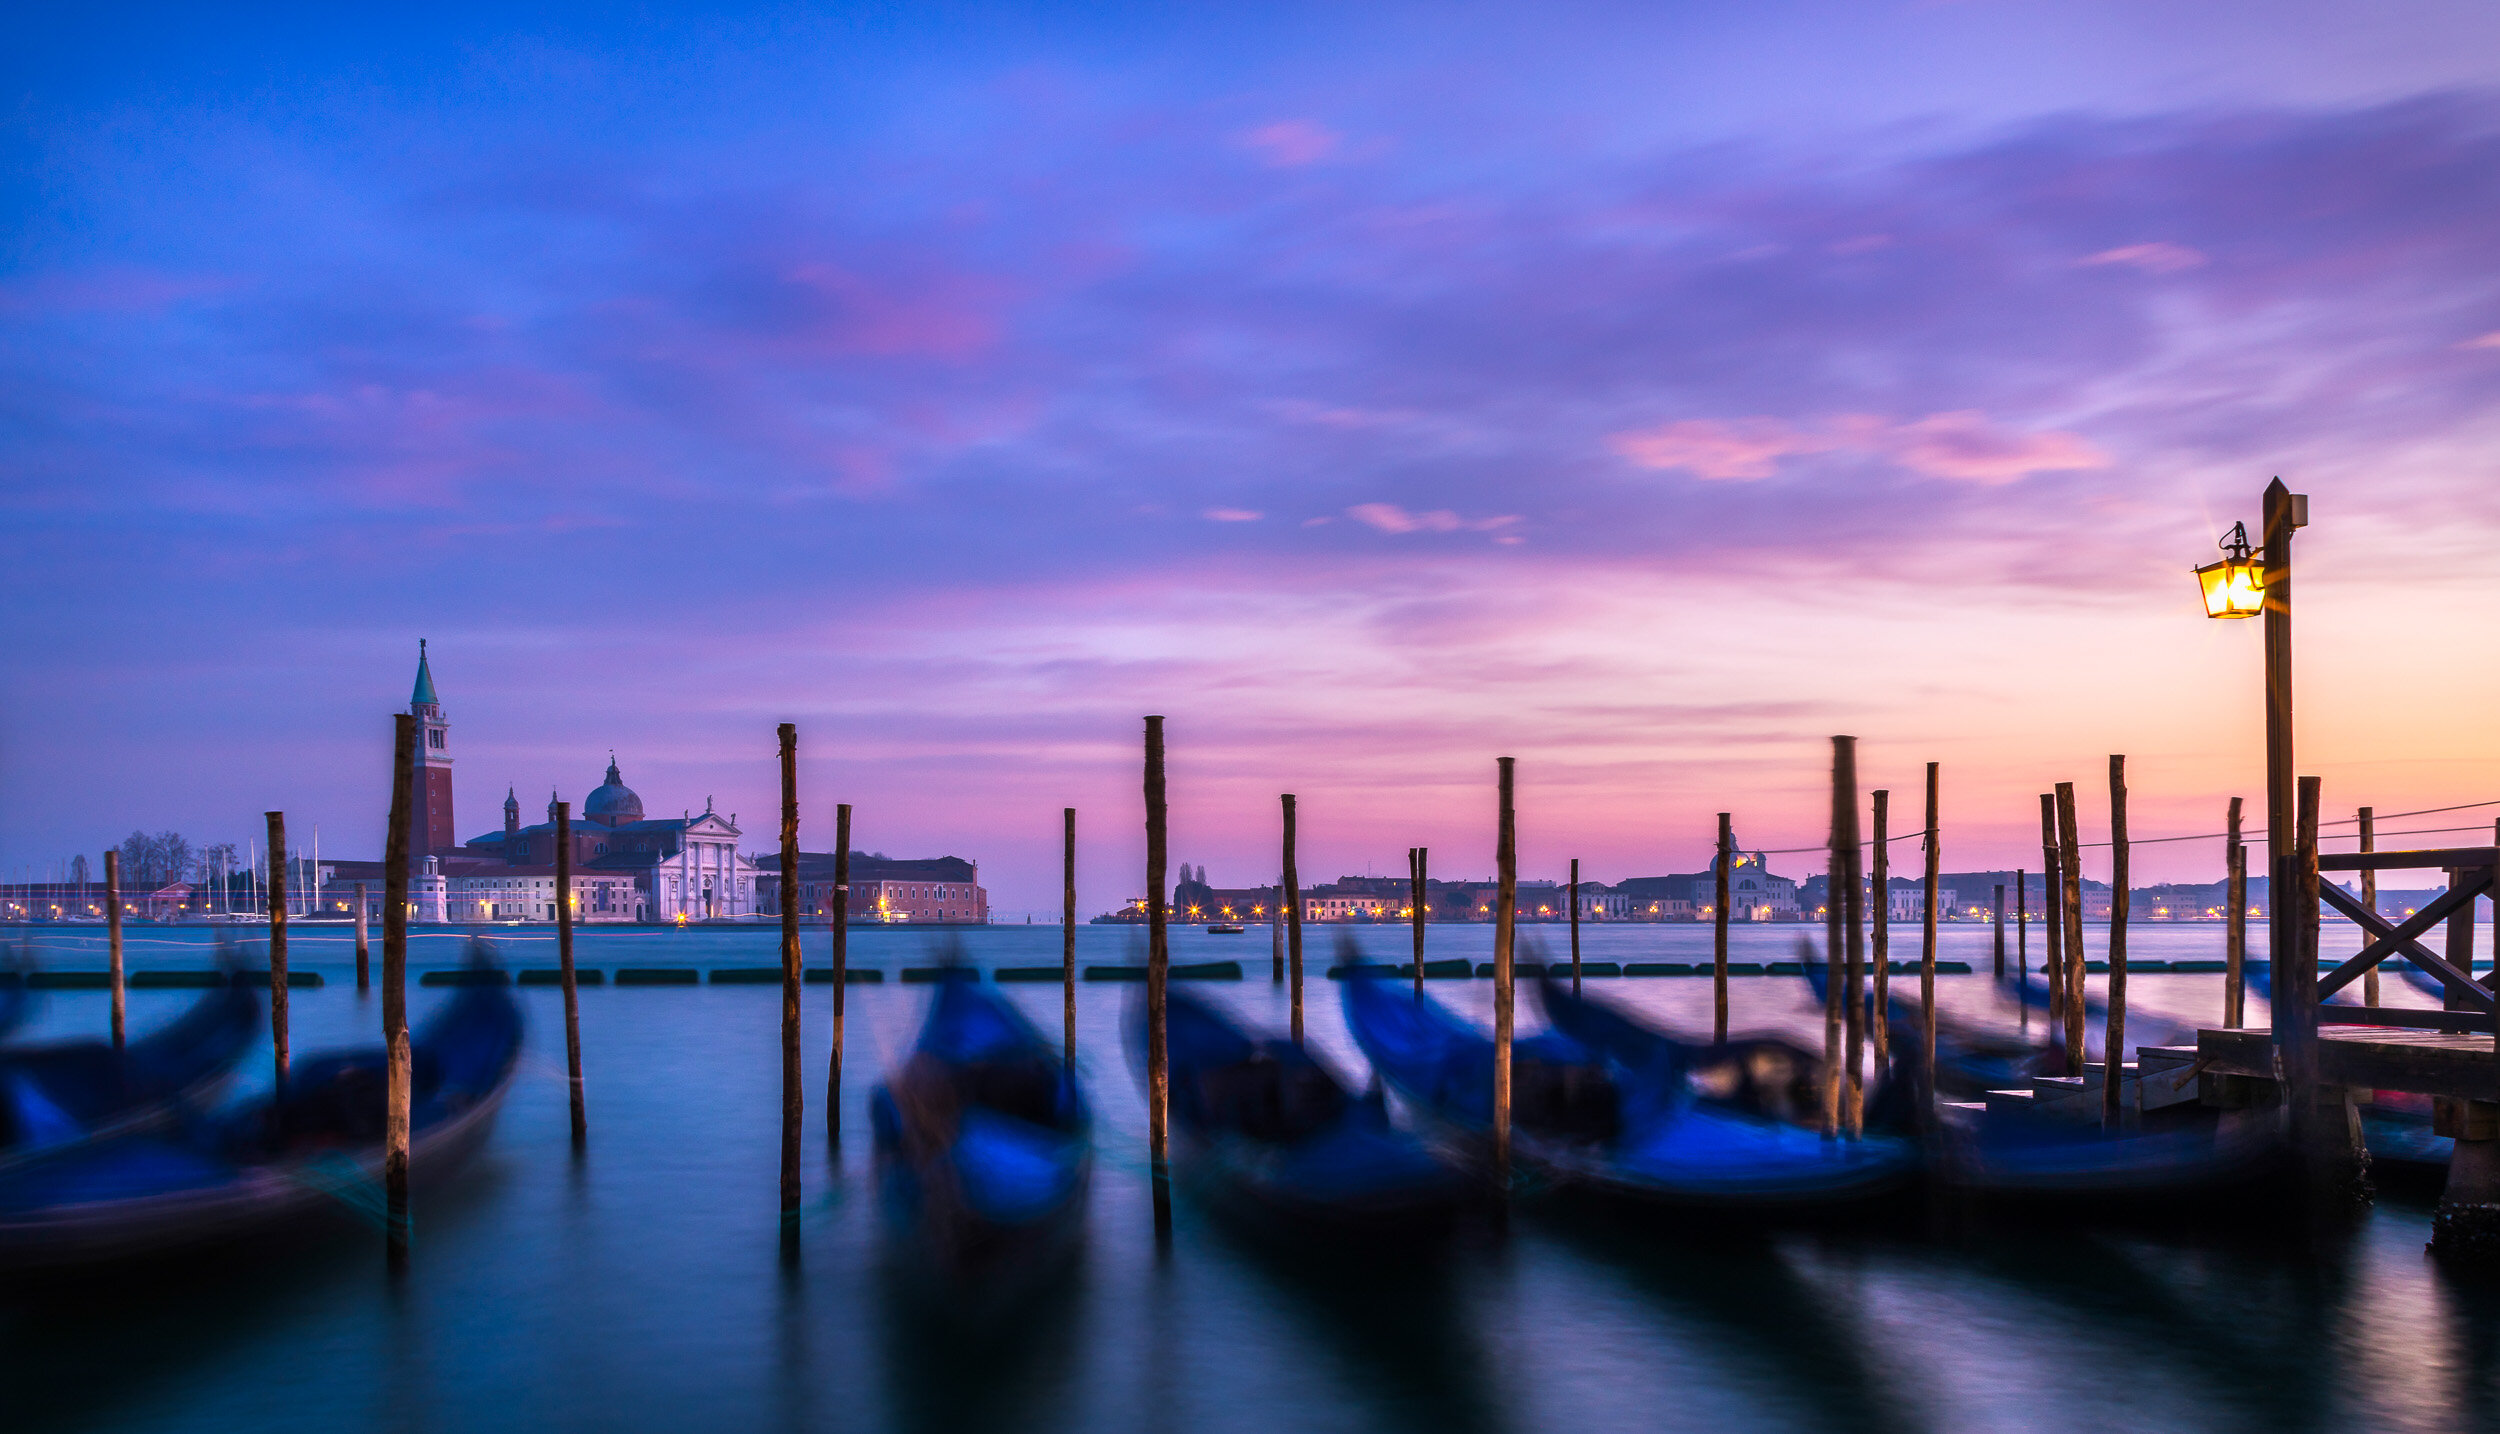

During winter, the early morning sunrise in Venice is treat to experience. This view is from Academia bridge which is one of the four bridges over Grand canal. Serene sunrise with magical clouds & reflective water with no existence of human in scene makes this place so heavenly. The city of canals Venice is never so quite in day time & would be buzzing around with lots of tourists.